Assessing Structural Loads Before You Drill
A standard striking bag might weigh anywhere between seventy and one hundred fifty pounds on paper, but the true load placed on your framing is significantly higher. Every punch or kick sends kinetic energy directly into the mount, creating dynamic shock forces that can double or triple the effective weight in motion. Before purchasing hardware or deciding on a layout, you need to understand whether your ceiling joists or wall studs can withstand repetitive multi-directional strain over months of intense use.
Residential framing typically relies on two-by-six or two-by-eight joists in basements or upper floors, while roof rafters in garages may not always be designed to support vertical weight hanging from the center of their spans. Attaching hardware directly to the weak point of an unsupported beam can lead to cracked drywall, sagging plaster, or loose fasteners over time. You should always locate the exact center of a solid, load-bearing wood member or concrete surface rather than relying on decorative trim or subfloor sheeting.
Proper planning prevents costly repairs down the road. Take time to map out your footwork zone, ensuring there is a minimum clearing radius of at least four to five feet around the perimeter of where the bag hangs. This distance allows the equipment to swing naturally without colliding with drywall, exposed water lines, or electrical conduits, keeping both your home and your joints safe during high-output sessions.
Hanging a Heavy Bag from Ceiling Joists
Securing a mount overhead is the most common approach for home setups because it grants full three-hundred-sixty-degree footwork around the target. To begin this punching bag installation, locate the center of an overhead structural joist using an electronic stud finder and confirm the edges with a thin finishing nail. Fasteners must sink directly into the center grain of the wood, because screws placed near the edge can split the timber under heavy dynamic tension.

Pre-drilling pilot holes is mandatory when installing lag bolts into structural joists. Choose a drill bit slightly smaller than the core diameter of your lag bolts, typically around one-quarter inch for a three-eighths-inch fastener, and drill deep enough to match the bolt length. Thread the heavy-duty lag bolts through the steel mounting plate with heavy washers, tightening them firmly with a socket wrench until the bracket rests flat against the wood surface.
Many boxers find that spanning two adjacent ceiling joists with a sturdy two-by-six header board distributes kinetic energy far more effectively than attaching to a single point. Bolting the header across multiple joists spreads the vibration across a wider framework. If you are learning striking mechanics through structured kickboxing classes, you will appreciate how a rigid ceiling anchor preserves bag stability even when working on heavy combination kicks.
Once your mount is secured, connect a heavy-duty chain kit paired with a rated steel swivel. The swivel allows the bag to rotate freely when struck, preventing the hanging straps from twisting and unscrewing the overhead hardware. Double-check all carabiner latches and lock rings before lifting the bag into place with the assistance of a second person to prevent back strain.
Wall-Mounted Brackets for Concrete and Stud Walls
When overhead access is obstructed by ductwork, finished ceilings, or low clearance, a wall-mounted cantilever bracket provides a sturdy alternative. These brackets feature a steel arm that extends two to three feet away from the wall, giving the bag room to sway. For timber-framed walls, the mounting plate must never be anchored into a single stud; instead, mount two horizontal stringer boards across three separate wall studs to distribute the heavy lateral pull.
Concrete, brick, and solid masonry walls are exceptionally well-suited for heavy bag installation because dense masonry absorbs kinetic vibration without flexing. For concrete installations, drill precision holes using a hammer drill and masonry bit, clean out the concrete dust thoroughly, and drive in rated steel expansion wedge anchors or heavy-duty masonry screws. Tighten the anchors to the specified torque so the bracket cannot work itself loose under recurring torque.
Keep in mind that wall brackets transmit significant sound through adjacent interior partitions. If your training space shares a wall with living quarters or bedrooms, look for brackets equipped with structural bracing struts and rubber dampener washers. Reinforcing the attachment points ensures your boxing bag installation remains silent, rigid, and safe through years of explosive punching and kicking drills.
Vibration Control and Hardware Maintenance
The primary annoyance of hanging a heavy bag indoors is not the sound of impact, but the low-frequency vibration that travels through the building frame. An unbuffered steel mount vibrates structural joists, causing floorboards overhead to hum and picture frames to rattle on upper stories. Integrating a heavy-duty compression spring between the ceiling hook and the top of the chain assembly significantly mitigates this transfer of force.
Spring dampeners work by absorbing the sharp, sudden jolt of vertical displacement each time an upward punch lands or the bag bounces back down. In addition to a compression spring, high-density rubber isolation pads placed between the mounting bracket and the wooden joist act as acoustic decouplers. These simple rubber barriers absorb micro-vibrations before they have a chance to conduct into the home framing.
Routine maintenance is critical for every suspended home gym fixture. Dynamic loads gradually loosen threaded fasteners, so inspect your lag bolts, shackles, and swivel links every few weeks. If you notice any metal shavings falling from the links, replace the worn carabiners immediately, as metal-on-metal friction can erode chain steel until an unexpected failure occurs during training.
Setting Optimal Bag Height and Clearance
A frequent mistake in home installations is hanging the bag at an improper vertical height, which compromises striking biomechanics and causes premature joint fatigue. Ideally, the center of the heavy bag should hang level with your chest, with the top of the bag resting slightly above eye level. This positioning ensures that your straight punches land on a flat surface without hyper-extending the wrists or forcing your shoulders into unnatural angles.
Adjusting bag height is simple when using chain kits with adjustable carabiners. You can shorten or lengthen individual chain links to dial in the elevation based on your height and training style. Traditional western boxing routines often favor a slightly higher target, whereas disciplines that emphasize low kicks and knee strikes benefit from elongated bags that hang closer to the floor.
Always evaluate floor clearance and surface friction beneath the bag. Slick concrete or loose area rugs can cause dangerous slips when pivoting on power shots. Placing interlocking high-density rubber flooring mats directly beneath your training zone improves joint cushioning and protects the hanging bag from scraping the floor if it settles slightly over time.
Optimizing Bag Work to Cut Body Fat and Retain Muscle
Once your setup is fully functional, heavy bag training serves as one of the most demanding cardiovascular and metabolic conditioning tools available. If your personal fitness goal is learning how to cut fat while preserving existing lean tissue, bag rounds offer an ideal mix of high-intensity intervals and muscular resistance. High-output combinations trigger significant caloric expenditure without causing the muscle-wasting effects often associated with excessive, steady-state endurance running.
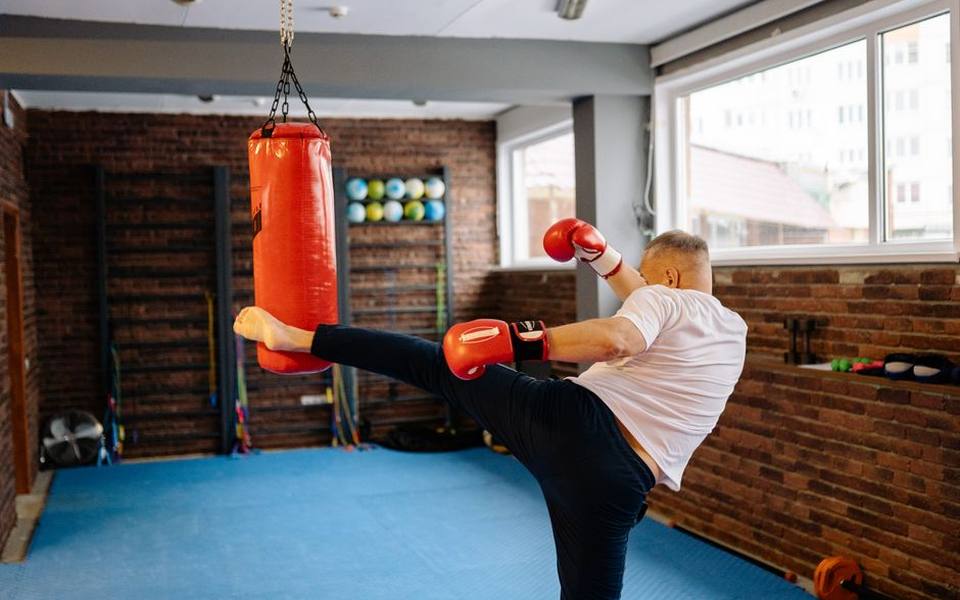
Retaining hard-earned lean mass during a fat reduction phase requires structured programming. Striking an impact bag demands explosive recruitment of the core, lats, shoulders, and glutes. Pairing heavy bag training with dedicated resistance work and structured fat loss programs ensures that your body draws from adipose reserves for fuel rather than breaking down functional skeletal muscle tissue during a caloric deficit.
Nutrition remains the deciding factor when dialing in your physique. To maintain muscle while stripping away body fat, establish a modest daily caloric deficit between three hundred and five hundred calories, while keeping dietary protein intake elevated at approximately zero point eight to one gram per pound of body weight. This nutritional strategy signals your metabolism to spare muscle tissue while steadily utilizing stored body fat to meet daily energy demands.
Understanding Facial Fat Loss and Realistic Expectations
Many athletes wondering about their overall conditioning often ask how to lose fat in my face to achieve a leaner, more chiseled appearance. It is crucial to understand that targeted spot reduction is a biological impossibility; your body draws from fat stores across the entire body in a genetically determined order, not from the specific region you happen to exercise or stress.
When individuals notice slimming in their facial contours, it is almost invariably the result of comprehensive, whole-body fat reduction. Consistent heavy bag conditioning, resistance training, and a sustainable nutritional deficit will lower total systemic body fat percentage. As overall adipose levels decline, facial fat diminishes proportionally alongside fat stores in the abdomen, chest, and hips.
Fluid retention also plays an underappreciated role in how full or bloated the face appears on a daily basis. High dietary sodium intake, chronic dehydration, elevated systemic inflammation, and insufficient sleep can cause interstitial water buildup in facial tissues. Drinking ample water, moderating processed sodium, and prioritizing recovery often creates a noticeably tighter facial appearance long before major changes in adipose mass register on the scale.
Managing Caloric Deficits Without High-Volume Exercise
Injuries, travel, or scheduling constraints sometimes prevent athletes from hitting the heavy bag, prompting the question of how to lose fat without exercise. While intense physical activity speeds up energy expenditure, fat reduction remains fundamentally governed by energy balance. You can consistently lose body fat without setting foot in the gym simply by controlling your caloric intake relative to your resting metabolic rate.
To strip body fat during periods of physical inactivity, calculate your maintenance baseline and subtract a conservative twenty percent daily caloric cushion. Rely heavily on whole, nutrient-dense foods with high satiety indexes, such as fibrous vegetables, lean poultry, fish, eggs, and legumes. These choices slow gastric emptying and help manage hunger hormones like ghrelin, making a lower caloric ceiling easy to maintain without feeling depleted.
Non-exercise physical activity, often abbreviated as NEAT, also plays a pivotal role when formal workouts are paused. Simple daily habits like taking brisk walks, standing while working, and choosing stairs over elevators keep your daily expenditure elevated without imposing structural stress on recovering joints. Many people practicing recreational drills or structured self-defense classes lean on these steady dietary habits to maintain their optimal fighting weight year-round.
Clearing Ear Pressure and Middle Ear Congestion
Intense athletic training—whether hard bag rounds, heavy deadlifts, or combat sparring—involves forceful exhalations and spikes in cranial blood pressure that can sometimes leave athletes with stuffy, blocked ears. When fighters ask how to remove fluid from my ear or resolve middle ear fullness, the issue is typically rooted in temporary Eustachian tube dysfunction rather than water trapped in the outer canal.
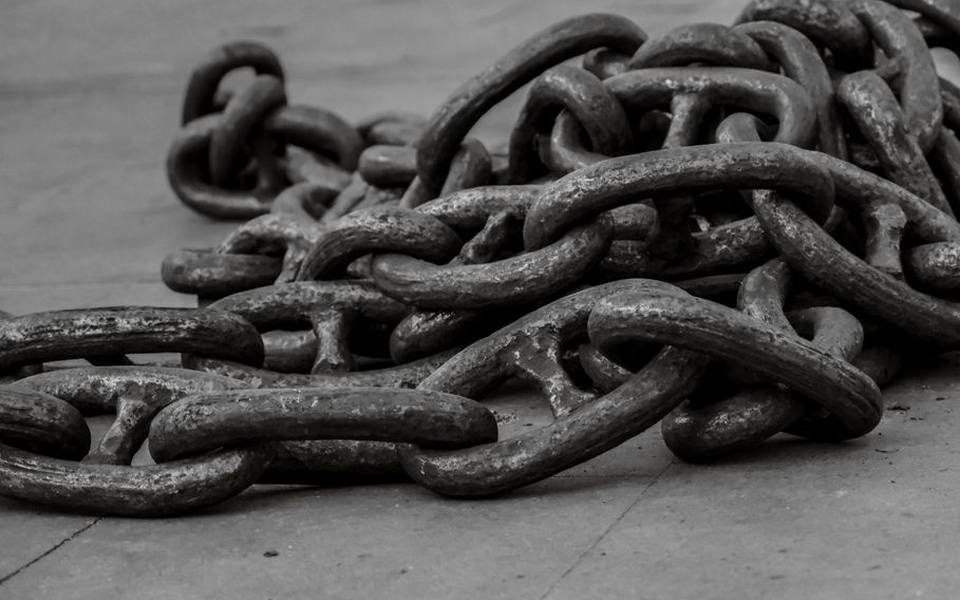
The Eustachian tube connects the back of the nasopharynx to the middle ear cavity behind the eardrum, regulating air pressure and draining natural physiological secretions. Straining under heavy physical loads, clenching teeth into a mouthguard, or exercising while managing mild seasonal allergies can cause the mucosal lining of these passages to swell, trapping air or serous fluid behind the tympanic membrane.
To encourage drainage from the middle ear without causing trauma, practice gentle equalization techniques. Swallowing while holding your nose closed, chewing gum, or performing a very soft, controlled Valsalva maneuver—gently exhaling against closed nostrils without straining—can open the Eustachian tube and allow trapped middle ear fluid to drain down the throat. Over-the-counter saline nasal rinses and oral decongestants can also help reduce nasal inflammation in most cases.
Never attempt to clear fluid behind your eardrum by inserting cotton swabs, fingers, or sharp objects into your ear canal, as the middle ear space is completely sealed off by the delicate tympanic membrane. If ear fullness persists for more than a couple of weeks, is accompanied by sharp pain, dizziness, or noticeable hearing loss, consult a qualified physician or otolaryngologist for a thorough clinical evaluation.
Balancing Home Training with Gym Instruction
A well-anchored heavy bag inside your garage or basement gives you unparalleled convenience, allowing you to refine strike mechanics, build cardiovascular stamina, and burn calories whenever your schedule permits. However, solo bag training operates best as a supplement to structured coaching rather than an outright replacement for professional supervision. Striking a stationary target does not offer real-time feedback on defensive lapses or poor technical habits.
Over time, solo athletes frequently develop subtle flaws such as dropping the lead hand during roundhouse kicks or leaving the chin exposed when throwing rear crosses. Periodically visiting reputable MMA gyms or traditional boxing clubs keeps your timing sharp, reinforces defensive discipline, and ensures your technique remains functional against dynamic opposition.
By pairing a professionally installed home setup with consistent coaching, balanced nutrition, and sensible recovery protocols, you create an enduring training ecosystem. Whether your focus is sharpening your jab, leaning out your physique, or mastering striking fundamentals, taking the time to build a safe, structurally sound foundation makes all the difference.
Published 2026-09-21 · reviewed with each rebuild, last September 2026.
Find martial arts schools near you
The directory lists 32,877 martial arts schools by state and city — pick your state or use the “Near me” button in the header.
More guides
-
 Owning
Establishing a Proper Heavy Bag Routine and Striking Technique at Home
-
 Safety
Brazilian Jiu-Jitsu for Beginners: Tips, Fundamentals, and Mat Health
-
 Buying
Finding the Right Fit: A Guide to Sizing Your Jiu-Jitsu Uniform and Cross-Training Gear
-
 Money
MoneyHow Much Do Martial Arts Classes Cost? Membership Fees Breakdown
-
 Owning
What Is Mixed Martial Arts? Beginner Overview and Training Guide
-
 Owning
The History, Origins, and Physical Demands of Brazilian Jiu-Jitsu
-
 Owning
Traditional Martial Arts Guide: Understanding Wushu, Silat, and Naginata
-
 Owning
Understanding Mixed Martial Arts for Beginners
-
 Safety
How to Wrap Your Hands for Boxing: Step-by-Step Wrist and Knuckle Protection Guide
-
 Buying
Best Jiu-Jitsu Gis and Apparel: Complete Buyer's Guide and Sizing Chart
-
 Buying
BJJ vs Judo vs Wrestling vs No-Gi: Which Grappling Art Is Right for You?
-
 Buying
How to Choose the Best Jiu-Jitsu and MMA Gym Near You
-
 Owning
Brazilian Jiu-Jitsu for Beginners: Rules, Belt Ranks, and Mat Training
-
 Buying
Kickboxing Classes & Cardio Fitness Workouts Guide
-
 Owning
Martial Arts Belt Ranking Systems: Progression, Orders, and Displays
-
 Buying
Jeet Kune Do: History, Philosophy, and Modern Training Guide
-
 Buying
BJJ Gis and Uniforms Buyer's Guide: Brands, Fit, and Care
-
 Buying
Gracie Jiu-Jitsu Lineages, Academy Networks, and Training Philosophies
-
 Buying
10th Planet Jiu-Jitsu: Complete Guide to the No-Gi System and Academies
-
 Safety
Tai Chi Classes for Seniors: Health Benefits, Styles, and Practice Guide
-
 Owning
Heavy Bag and Boxing Workouts: Home Setup, Gear Selection, and Training Guide
-
 Buying
Adult Karate and Taekwondo Classes: Getting Started and Gi Sizing
-
 Owning
IBJJF Tournaments and Competition Guide: Databases, Rules, and Events
-
 Safety
Custom vs. Boil-and-Bite Mouthguards: Complete Selection and Fitting Guide
-
 Safety
Women's and Adult Self-Defense Training Guide: Techniques, Classes, and Systems
-
 Owning
Traditional Chinese Martial Arts: Shaolin, Wing Chun, Jeet Kune Do, and Gear Guide
-
 Buying
Adult Martial Arts Guide: Choosing the Right Style, Gym, and Training Class
-
 Buying
Filipino Martial Arts, Kenpo, Aikido, and HEMA: Comparing Traditional Combat Styles
-
 Owning
Heavy Bag Workout Guide: Routines, Drills, and Training for Cardio and Weight Loss
-
 Buying
Muay Thai and Cardio Kickboxing Classes: Training, Techniques, and Fitness Programs
-
 Buying
BJJ Gis, Rash Guards, and Apparel: How to Choose, Size, and Care for Jiu-Jitsu Gear
-
 Safety
Women's and Adult Self-Defense Classes: Selecting Programs for Real-World Safety
-
 Owning
Martial Arts Belts and Ranks: Belt Order, Taping, and Display Racks Guide
-
 Safety
Martial Arts Conditioning, High-Kick Mobility, and Protective Gear Guide
-
 Buying
Kids and Toddler Martial Arts: Complete Guide to Classes, Camps, and Family Dojos
-
 Buying
Brazilian Jiu-Jitsu Schools, Academies, and Lineages: A Complete Guide
-
 Buying
Martial Arts Gyms, Fitness Studios, and Dojos Directory Guide
-
 Buying
Traditional Martial Arts Styles and Specialized Disciplines Guide
-
 Owning
BJJ and Martial Arts Gi Selection, Sizing, and Equipment Care Guide