The Mechanics and Physical Demands of Heavy Bag Fitness
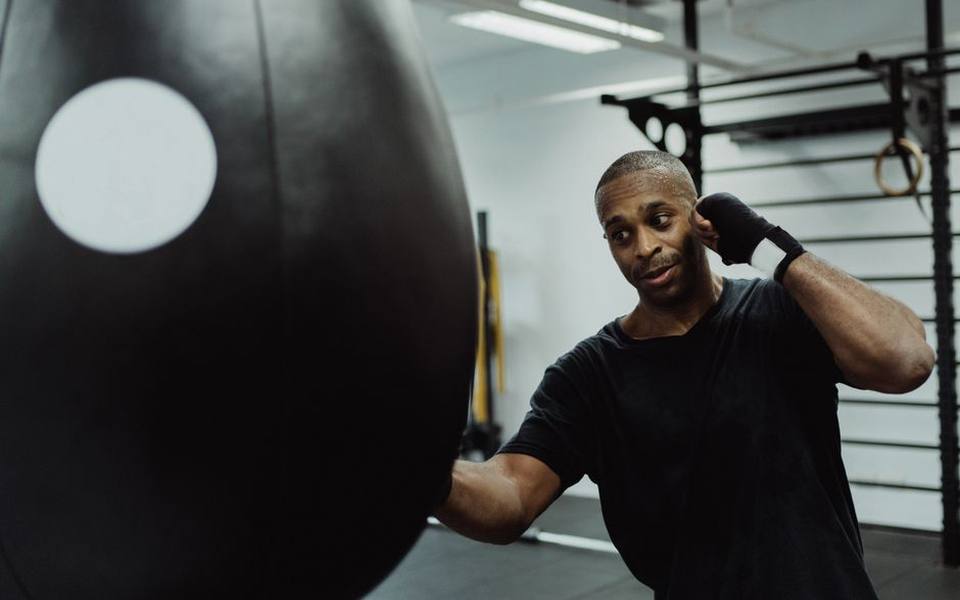
Setting up a heavy bag at home gives you an intense cardiovascular and muscular endurance workout without requiring extensive machinery. A standard bag session engages the legs, core, shoulders, and back through rotational force rather than isolated muscle movements. The resistance provided by the bag forces your stabilizing muscles to fire constantly as your fists make contact, absorbing kinetic energy and returning impact through your kinetic chain.
Unlike running or stationary cycling, striking training incorporates rapid shifts in heart rate zones that mimic high-intensity interval training. Striking drills require you to maintain mental focus while physically exhausted, which develops tactical coordination and physical stamina. Beginners often underestimate how quickly throwing punches fatigues the deltoids, lats, and cardiovascular system, making structured pacing essential from your first round.
A regular heavy bag session also develops kinetic awareness by teaching you how to generate power from the floor up through your hips rather than arm-punching. When performed with proper body mechanics, hitting a bag reinforces sound biomechanics that protect your joints while burning significant calories. It serves as a practical, self-contained workout platform that fits into garages, basements, or spare rooms with minimal ongoing maintenance.
Hanging Heavy Bags Versus Modern Freestanding Units
Choosing between a traditional hanging bag and a freestanding unit depends largely on your available living space, floor type, and structural framing. Traditional hanging bags weigh anywhere from seventy to over one hundred pounds and swing freely, demanding at least six feet of clearance in every direction. That natural sway is valuable for learning distance management, timing, and footwork, but installing one requires a secure ceiling joist or a heavy-duty steel frame.
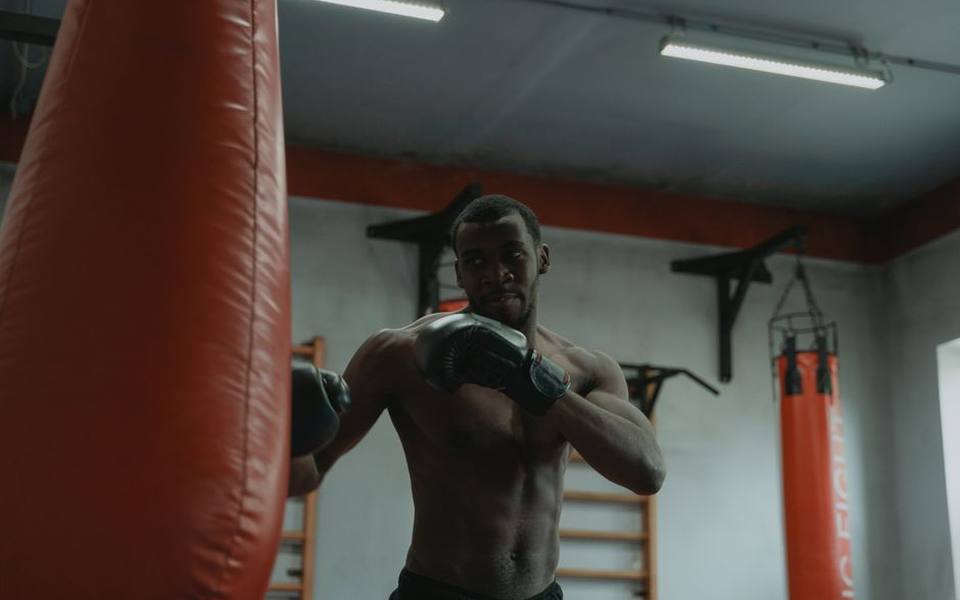
Freestanding models, including interactive systems like the connected smart bags popular in home fitness, rely on plastic bases loaded with sand or water. These units eliminate the need to drill into ceiling rafters, making them the primary choice for rental apartments, finished basements, and multi-story dwellings. They absorb strikes with a distinct rebound snap rather than a natural swing, which changes how you circle the target but still delivers a demanding conditioning workout.
Water-filled bases can leak if dragged across rough concrete, so placing rubber gym mats underneath the base protects your subfloor and reduces vibrations. Hanging bags remain the gold standard for traditional striking power, but freestanding options provide unmatched portability and lower installation hurdles. Evaluating your ceiling height, structural load tolerance, and room layout before purchasing prevents expensive structural repairs or noisy neighbor complaints.
Mounting Heavy Bags Safely in Residential Spaces
Anchoring a hanging striking bag into residential wood joists requires careful hardware selection to prevent structural damage over time. Punching a suspended weight creates rotational torque and shockwaves that loosen lag bolts if they are driven directly into soft framing lumber. Using a dedicated heavy bag ceiling spring or industrial rubber vibration dampener absorbs the vertical bounce and minimizes structural noise traveling through overhead living spaces.
If your home has exposed I-beams or structural steel in the basement, commercial beam clamps offer an exceptionally secure mounting solution without requiring any drilling. When dealing with finished drywall ceilings, locating the center of a load-bearing joist using a stud finder is non-negotiable. Mounting a two-by-six wood brace across two or three adjacent joists distributes the load broadly across your framing rather than stressing a single wooden member.
Heavy bag wall mounts are an alternative when ceiling attachment is impossible, though they require solid masonry, concrete, or reinforced wall studs to hold up under daily use. Freestanding steel bag stands avoid structural anchoring entirely, but their broad triangular legs take up considerable floor area and can trip you during dynamic footwork drills. Whichever method you choose, inspecting mounting carabiners, swivel rings, and bolts every few weeks prevents sudden equipment failures.
Hand Wrapping Techniques to Safeguard Wrists and Knuckles
Hitting a heavy bag without wrapping your hands is a direct route to sprained wrists, hyperextended joints, and fractured metacarpals. The human hand contains twenty-seven small bones that are not naturally adapted to absorb direct blunt force against dense canvas or packed leather. Wrapping secures these small bones together into a rigid, unified structure, transferring the shock of impact harmlessly into the forearm muscles and large skeletal joints.
Standard semi-elastic Mexican-style hand wraps measuring 180 inches provide the ideal balance of knuckle padding, thumb security, and wrist stabilization. Begin by anchoring the thumb loop, then lay multiple flat layers around the wrist joint before bringing the fabric diagonally across the back of the hand. Weaving the cloth between individual fingers keeps your knuckles separated upon impact and prevents painful friction burns beneath your glove padding.
A properly wrapped hand should feel comfortably supported when open and solidly locked into a rigid fist when closed. If your fingertips turn pale or throb while resting between rounds, your wraps are wound too tightly and will cut off circulation. Conversely, loose wrapping bunches inside the hand compartment, creating hot spots that cause painful skin abrasions during repeated impact drills.
Selecting Gloves: Weight Categories and Specialized Styles
Glove selection directly impacts hand safety, striking speed, and muscle conditioning during heavy bag training. Standard adult bag workouts typically call for gloves weighing between 12 and 16 ounces, which provide thick multi-layer foam over the knuckles to absorb dense shock. Heavier gloves build shoulder endurance while sparing delicate joints from cumulative impact stress during high-volume training blocks.
In contrast, lightweight 8 oz boxing gloves are primarily built for professional competition bouts or youth divisions, offering minimal protective foam across the knuckles. Striking a rigid heavy bag with 8 oz gloves places significant stress on adult joints and is generally discouraged unless you possess conditioned hands and refined striking technique. For general fitness and power development, 14 oz or 16 oz training gloves remain the safest standard.
MMA practitioners often use open-palm hybrid gloves, such as fingerless grappling gloves, to transition smoothly between bag strikes and clinch work. While these hybrid mitts allow finger articulation, their padding is thinner than traditional boxing gloves, meaning you must pull your punching power slightly on stiff bags. Match your glove weight to your primary training objective, keeping joint preservation as your highest operational priority.
Establishing Stance, Balance, and Footwork Mechanics
Power on the heavy bag does not originate in the arms; it starts with a stable, athletic base on the floor. An orthodox fighter places their left foot forward angled slightly inward, with the right foot trailing behind at roughly shoulder-width distance. Keep your knees softly bent and your weight evenly distributed across the balls of your feet, allowing you to move smoothly in any direction without crossing your legs.

A common mistake among home trainees is standing stationary directly in front of the bag and smothering their own punching range. You should stand far enough away so that your straight punches reach the bag near full extension without leaning your torso past your front knee. After delivering an impact or finishing a sequence, immediately step back or circle away to reset your defensive perimeter and reestablish balanced footing.
Avoid pushing the bag with your gloves to force it into a swing, as this creates artificial momentum and rewards poor striking mechanics. Instead, let your strikes snap crisply off the surface, retracting your hands back toward your chin just as fast as they went out. Fluid footwork allows you to move with the bag's natural rhythm rather than wrestling against its physical weight.
Core Punching Bag Drills for Beginning Strikers
Beginning strikers should master four foundational punches before attempting complex combinations or maximum-velocity power shots. The jab is your primary range-finder and speed tool, thrown straight from the lead hand with a quick rotation of the wrist at the point of impact. Following the jab with a straight rear cross engages the back hip and core, creating an effective two-punch sequence that forms the backbone of striking workouts.
Lead and rear hooks target the sides of the bag, requiring you to pivot on your lead foot while keeping your elbow parallel to the floor. Uppercuts generate upward kinetic energy from dipping your knees and driving through the hips, demanding tight wrist alignment so your hand does not slip off the curved leather. Practicing these four punches methodically teaches your nervous system to fire without telegraphing movement.
To build rhythm, begin with simple sequences such as jab-cross, step back, and follow with jab-cross-lead hook. Focus on accuracy, crisp retraction, and keeping your non-punching hand tucked firmly against your cheek to protect your jawline. Once your mechanics feel natural at half speed, you can gradually increase punching velocity without compromising your joint structure.
Structuring an Effective Home Heavy Bag Workout
An organized striking workout should follow traditional boxing rounds rather than continuous, unpaced pounding that leads to form breakdown. A standard format consists of three-minute active striking rounds separated by sixty seconds of rest, repeated across five to eight rounds. Beginners can scale down to two-minute rounds with equal rest intervals to preserve clean technique as endurance builds.
Dedicate your first round entirely to light footwork and loose jabs to elevate your core temperature and calibrate your striking distance. Middle rounds can incorporate higher intensity, blending power combinations with active defensive slips, weaving, and directional pivots. Use your rest periods to focus on controlled diaphragmatic breathing, keeping your posture tall rather than collapsing forward over your knees.
The final two rounds can shift toward conditioning burnouts, alternating fifteen seconds of rapid straight punches with fifteen seconds of active footwork or light circling. Finishing your session with core conditioning and shoulder stretches helps relieve tension in the trapezius and lower back. Tracking your rounds and resting intervals with a gym timer app keeps you accountable and maintains structured training intensity.
Transitioning from Home Solitary Bags to Gym Instruction
While a home bag is convenient for cardiovascular conditioning, solo training cannot replace the personalized feedback of an experienced martial arts coach. Over months of solitary garage practice, subtle errors in footwork, head movement, and wrist alignment can calcify into stubborn habits that are difficult to correct later. A qualified trainer spots overextended joints, dropped hands, and mechanical power leaks that self-taught athletes routinely overlook.
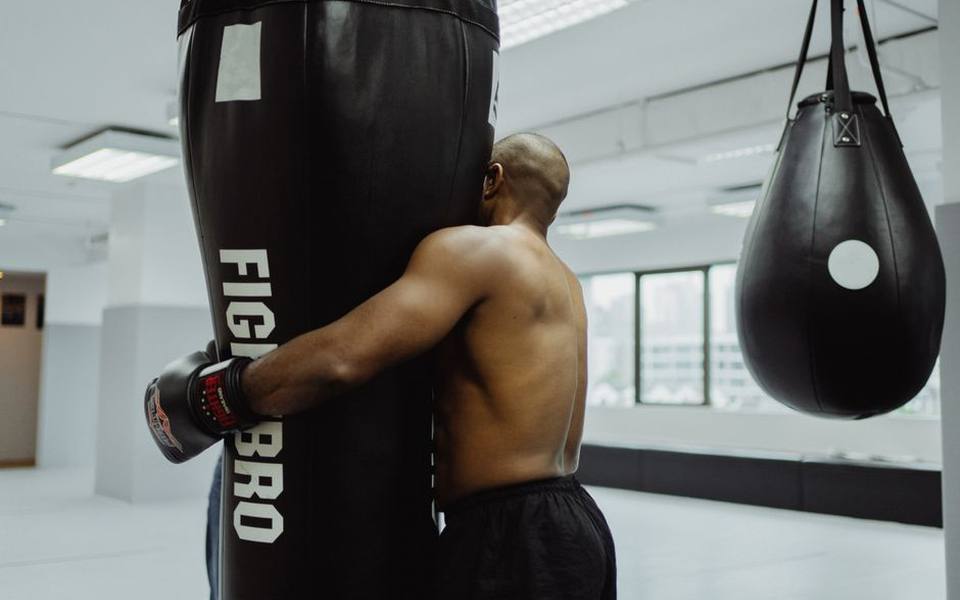
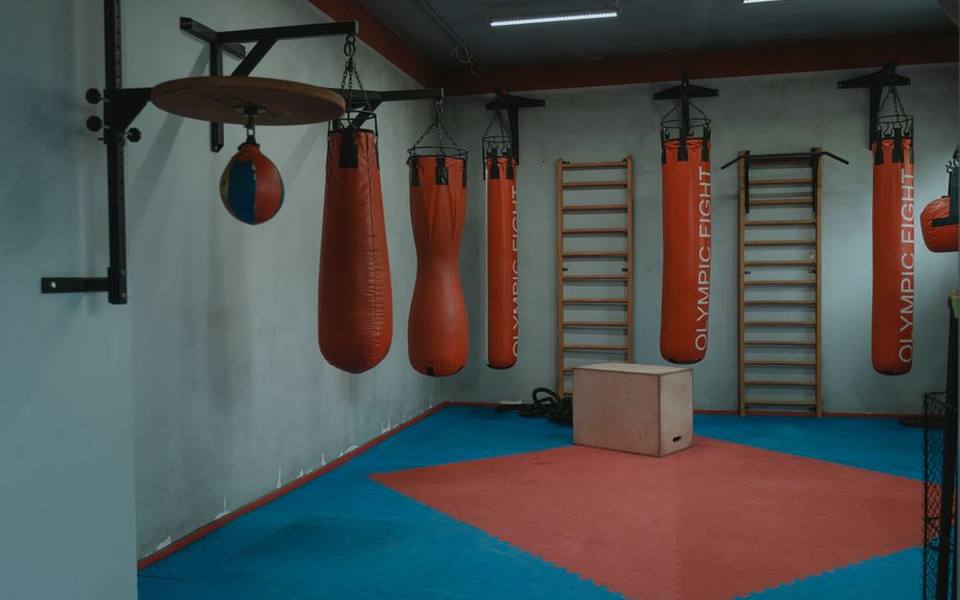
Visiting an established training facility exposes you to varied equipment that round out home bag work, including speed bags, double-end bags, and heavy teardrop bags. Enrolling in structured kickboxing classes helps build defensive timing, partner pad drills, and multi-strike combinations under real-time guidance. For individuals interested in broader combat sports, facilities focused on mixed martial arts programs combine striking fundamentals with takedown defense and clinch positioning.
If you want to test your skills in controlled settings or simply train in an energized group atmosphere, check our national martial arts directory to locate vetted facilities nearby. Exploring dedicated academies offering authentic traditional styles or dynamic MMA training ensures your technical development matches your physical conditioning. Even attending classes once or twice a week provides the structural framework needed to make your home bag sessions far more productive.
Cleaning, Maintenance, and Long-Term Bag Care
Heavy bags absorb substantial amounts of sweat, dust, and mechanical stress, requiring periodic maintenance to prolong their operational life. After every workout, wipe the exterior shell down with a mild disinfectant cloth or diluted castile soap solution to prevent bacteria and mildew growth. Avoid harsh alcohol-based cleaners on genuine leather bags, as chemical solvents strip natural oils from the hide and cause premature cracking.
Canvas and synthetic vinyl bags are resilient against moisture, but their hanging straps and stitched seams must be inspected regularly for fraying. If your bag uses metal D-rings, verify that friction from chain links has not thinned the metal loop to the breaking point. Swapping out worn carabiners and applying a drop of machine lubricant to the ceiling swivel prevents loud metallic squeaking during high-volume sessions.
Over time, the shredded textile filling inside heavy bags naturally settles toward the bottom, turning the base rock-hard while leaving the upper section hollow. You can redistribute the internal fabric by unhooking the bag, laying it flat on the floor, and rolling or gently beating the surface with a rubber mallet. Rotating your striking zone ensures even wear across the shell and protects your hands from hitting settled, overly compacted core sections.
Published 2026-09-21 · reviewed with each rebuild, last September 2026.
Find martial arts schools near you
The directory lists 32,877 martial arts schools by state and city — pick your state or use the “Near me” button in the header.
More guides
-
 Owning
Establishing a Proper Heavy Bag Routine and Striking Technique at Home
-
 Safety
Brazilian Jiu-Jitsu for Beginners: Tips, Fundamentals, and Mat Health
-
 Buying
Finding the Right Fit: A Guide to Sizing Your Jiu-Jitsu Uniform and Cross-Training Gear
-
 Money
MoneyHow Much Do Martial Arts Classes Cost? Membership Fees Breakdown
-
 Owning
What Is Mixed Martial Arts? Beginner Overview and Training Guide
-
 Owning
The History, Origins, and Physical Demands of Brazilian Jiu-Jitsu
-
 Owning
Traditional Martial Arts Guide: Understanding Wushu, Silat, and Naginata
-
 Owning
Understanding Mixed Martial Arts for Beginners
-
 Safety
How to Wrap Your Hands for Boxing: Step-by-Step Wrist and Knuckle Protection Guide
-
 Buying
Best Jiu-Jitsu Gis and Apparel: Complete Buyer's Guide and Sizing Chart
-
 Buying
BJJ vs Judo vs Wrestling vs No-Gi: Which Grappling Art Is Right for You?
-
 Buying
How to Choose the Best Jiu-Jitsu and MMA Gym Near You
-
 Owning
Brazilian Jiu-Jitsu for Beginners: Rules, Belt Ranks, and Mat Training
-
 Buying
Kickboxing Classes & Cardio Fitness Workouts Guide
-
 Owning
Martial Arts Belt Ranking Systems: Progression, Orders, and Displays
-
 Buying
Jeet Kune Do: History, Philosophy, and Modern Training Guide
-
 Buying
BJJ Gis and Uniforms Buyer's Guide: Brands, Fit, and Care
-
 Buying
Gracie Jiu-Jitsu Lineages, Academy Networks, and Training Philosophies
-
 Buying
10th Planet Jiu-Jitsu: Complete Guide to the No-Gi System and Academies
-
 Safety
Tai Chi Classes for Seniors: Health Benefits, Styles, and Practice Guide
-
 Buying
Adult Karate and Taekwondo Classes: Getting Started and Gi Sizing
-
 Owning
IBJJF Tournaments and Competition Guide: Databases, Rules, and Events
-
 Safety
Custom vs. Boil-and-Bite Mouthguards: Complete Selection and Fitting Guide
-
 Safety
Women's and Adult Self-Defense Training Guide: Techniques, Classes, and Systems
-
 Owning
Traditional Chinese Martial Arts: Shaolin, Wing Chun, Jeet Kune Do, and Gear Guide
-
 Buying
Adult Martial Arts Guide: Choosing the Right Style, Gym, and Training Class
-
 Buying
Filipino Martial Arts, Kenpo, Aikido, and HEMA: Comparing Traditional Combat Styles
-
 Owning
Heavy Bag Workout Guide: Routines, Drills, and Training for Cardio and Weight Loss
-
 Buying
Muay Thai and Cardio Kickboxing Classes: Training, Techniques, and Fitness Programs
-
 Buying
BJJ Gis, Rash Guards, and Apparel: How to Choose, Size, and Care for Jiu-Jitsu Gear
-
 Safety
Women's and Adult Self-Defense Classes: Selecting Programs for Real-World Safety
-
 Owning
Martial Arts Belts and Ranks: Belt Order, Taping, and Display Racks Guide
-
 Safety
Martial Arts Conditioning, High-Kick Mobility, and Protective Gear Guide
-
 Buying
Kids and Toddler Martial Arts: Complete Guide to Classes, Camps, and Family Dojos
-
 Owning
How to Hang a Heavy Bag: Ceiling and Wall Mounting Installation Guide
-
 Buying
Brazilian Jiu-Jitsu Schools, Academies, and Lineages: A Complete Guide
-
 Buying
Martial Arts Gyms, Fitness Studios, and Dojos Directory Guide
-
 Buying
Traditional Martial Arts Styles and Specialized Disciplines Guide
-
 Owning
BJJ and Martial Arts Gi Selection, Sizing, and Equipment Care Guide